
So I started this project in March of 2011, and have been slowly picking away. Here is everything from the start until current.
Anyway, onto the photos.
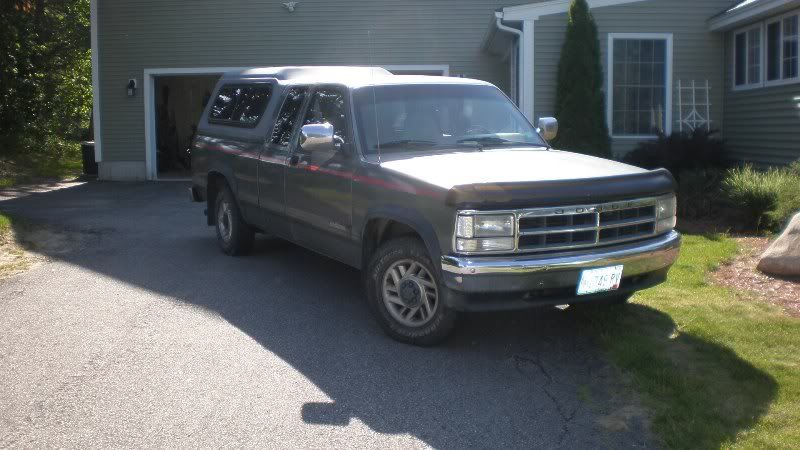
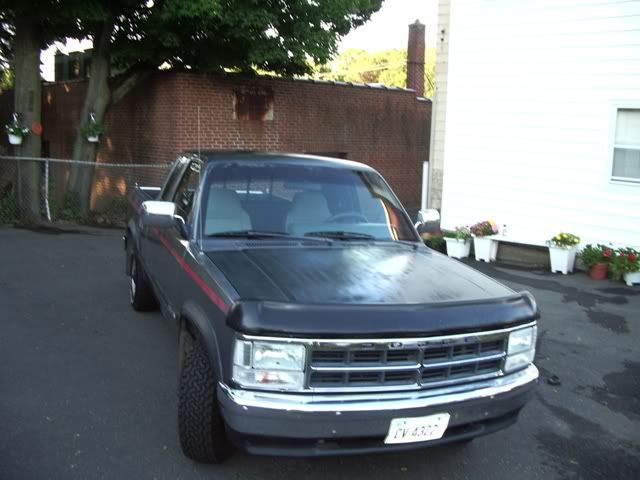
Once i took ownership from my dad.
![Image]()
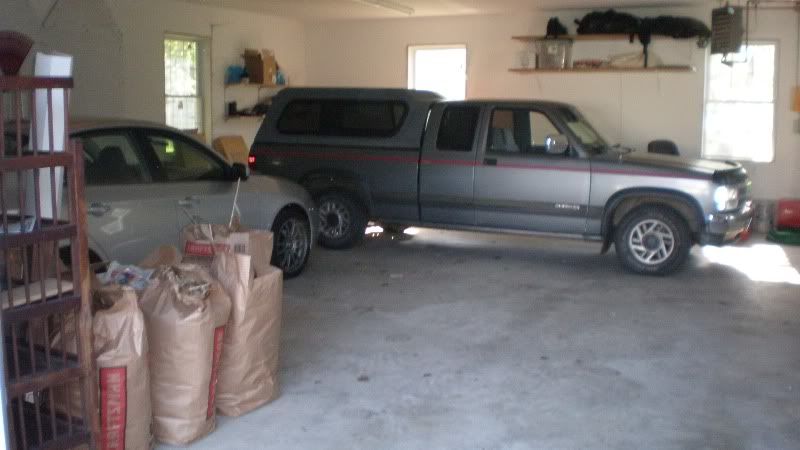
The day i packed her away
![Image]()
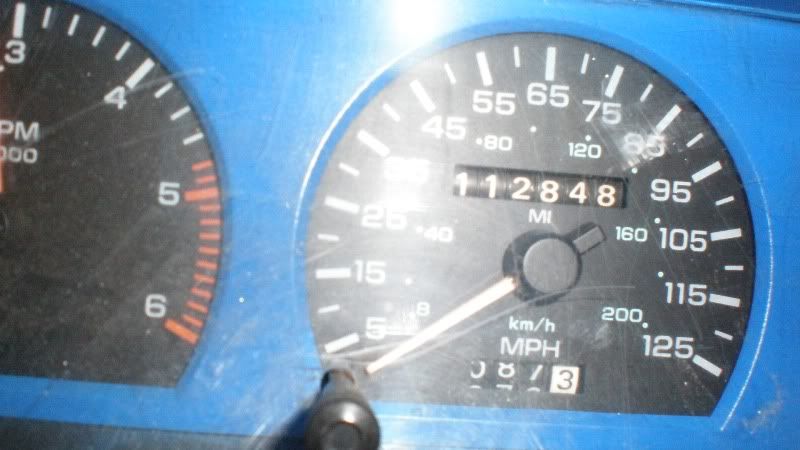
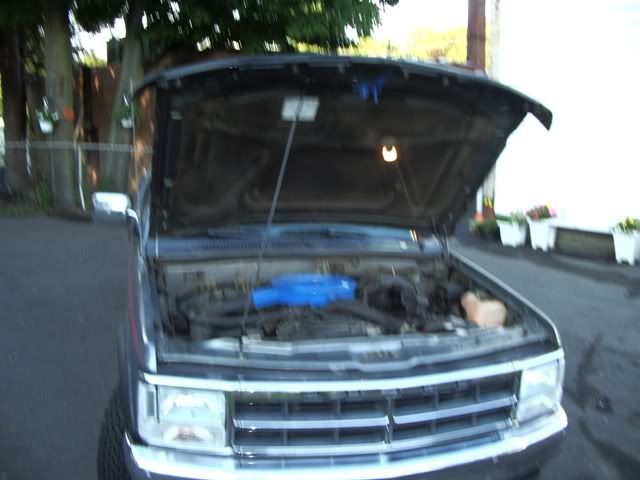
Current mileage
![Image]()
And the Specs:
3.9 V-6
5 spd, 2wd
114K miles
Full interior, stereo, viper alarm
cleared headlights
K&N drop-in filter
Poly body mounts.
What I would like to do:
rebuilt 3.9 with some goodies,
new clutch
suicide doors, shaved handles
full air-ride
Matte black paint
18's
update the interior a little.
Some photos from my exploration into paint.
![Image]()
![Image]()
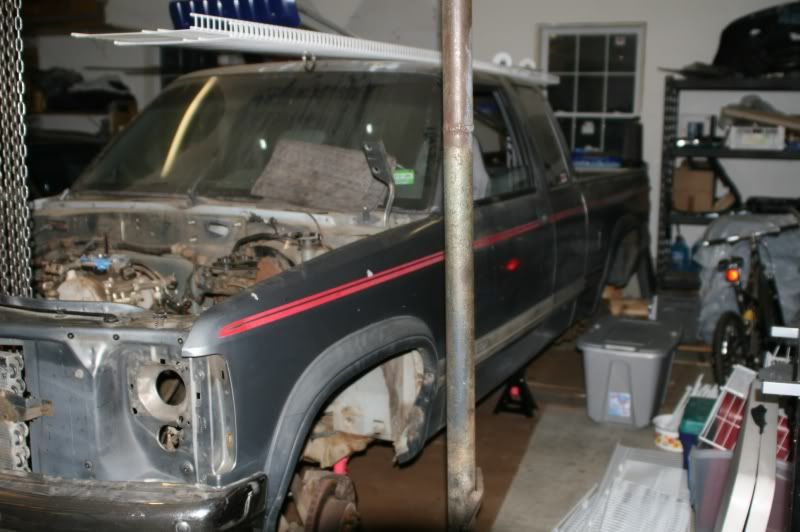
And her current status:
![Image]()
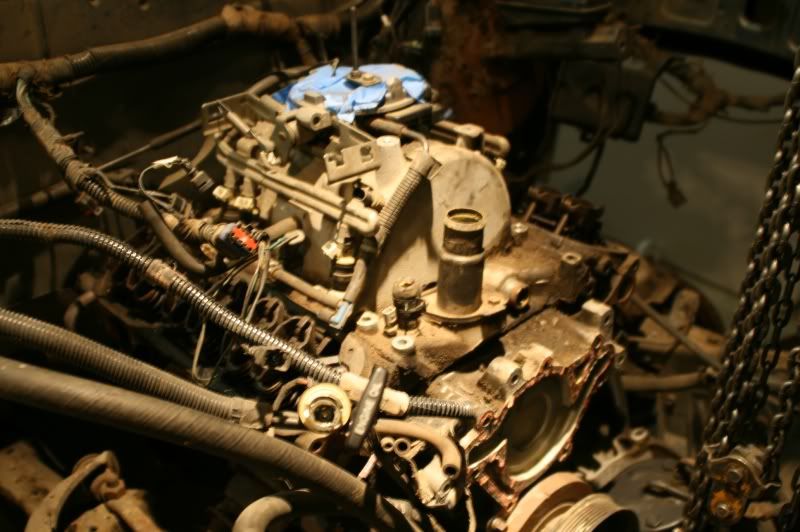
ready to come out
![Image]()
fenderwells are for wimps
![Image]()
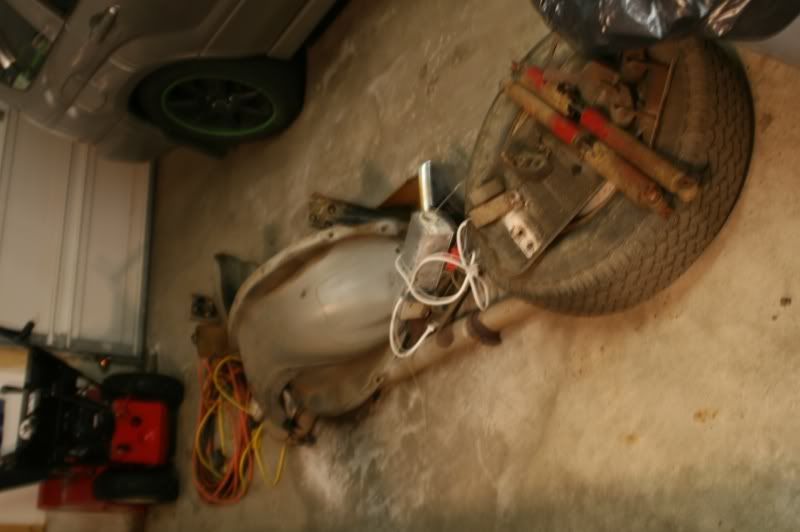
everything i took out today
![Image]()
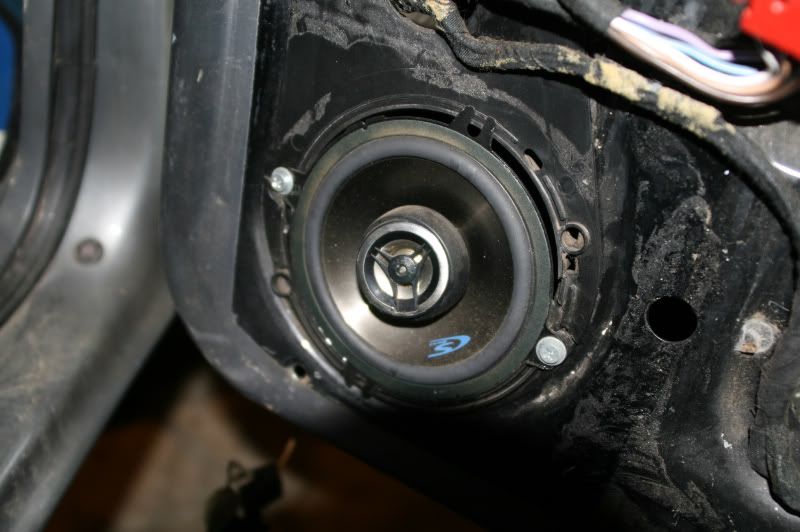
Interior
![Image]()
![Image]()
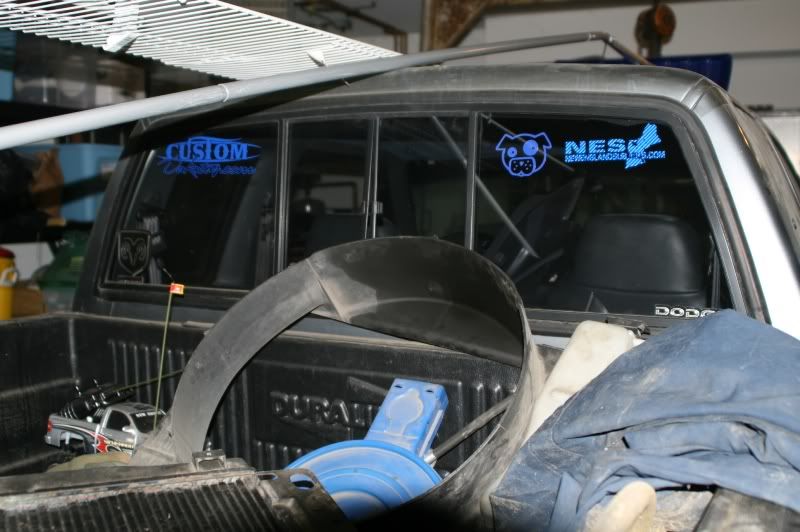
Reppin the stickers,
![Image]()
Anyway, onto the photos.
Once i took ownership from my dad.
The day i packed her away
Current mileage
And the Specs:
3.9 V-6
5 spd, 2wd
114K miles
Full interior, stereo, viper alarm
cleared headlights
K&N drop-in filter
Poly body mounts.
What I would like to do:
rebuilt 3.9 with some goodies,
new clutch
suicide doors, shaved handles
full air-ride
Matte black paint
18's
update the interior a little.
Some photos from my exploration into paint.
And her current status:
ready to come out
fenderwells are for wimps

everything i took out today
Interior

Reppin the stickers,


 Might just say f-this and do the grand cherokee rear disc setup...


