
My grandfather sold me his Dakota for $300 with 70k on it! It was in a 12-year storage from 1996-2008, carbureted 3.9L V6, automatic transmission with 2WD. He bought it in 2008 from the original owner, in 2009 the brakes failed and it hit a telephone pole to save a child's life instead. All he did was replace the grill, one headlight and headlight/turn signal door/shell along with the bumper and that was it.
![Image]()
![Image]()
![Image]()
Two years later I just bought it, and this is how it looks. The dented hood remains along with a crooked left light, actually the entire door/shell does not fit in the fender properly. Also the bumper is closer then normal to the left headlight door/shell.
![Image]()
With the front end apart it might be hard to see in the photo but the left frame rail that was welded on is slightly facing upward which I think is why the bumper is closer up on that side.
![Image]()
This is why the left headlight door/shell does not fit correctly, and why the headlight does not shine straight:
![Image]()
![Image]()
I have started working on a custom grill of some sort experimenting with the old grill from the accident, there is a small crack and missing one mounting hole tab. I used a Dremel tool to cut it all out and then smoothed it down, primed the whole thing. I will eventually on the good grill use a fiberglass boat repair kit to fill in the "D" or "C" shaped cutouts where the grill attached.
![Image]()
I'm looking into the possibility of a cowl induction scoop, 38" long, 23" wide and 2-1/2" tall. At 38" it would cover the entire hoods length, and I would have to blend it into the hood somehow, especially along the front [SUM-471500]
![Image]()
I have been slowly swapping out all my interior panels from blue to grey. The 88' column panel had this wedge/wing that tucked behind the rear column panel, but the newer grey panel does not... I should have taken a photo.
![Image]()
![Image]()
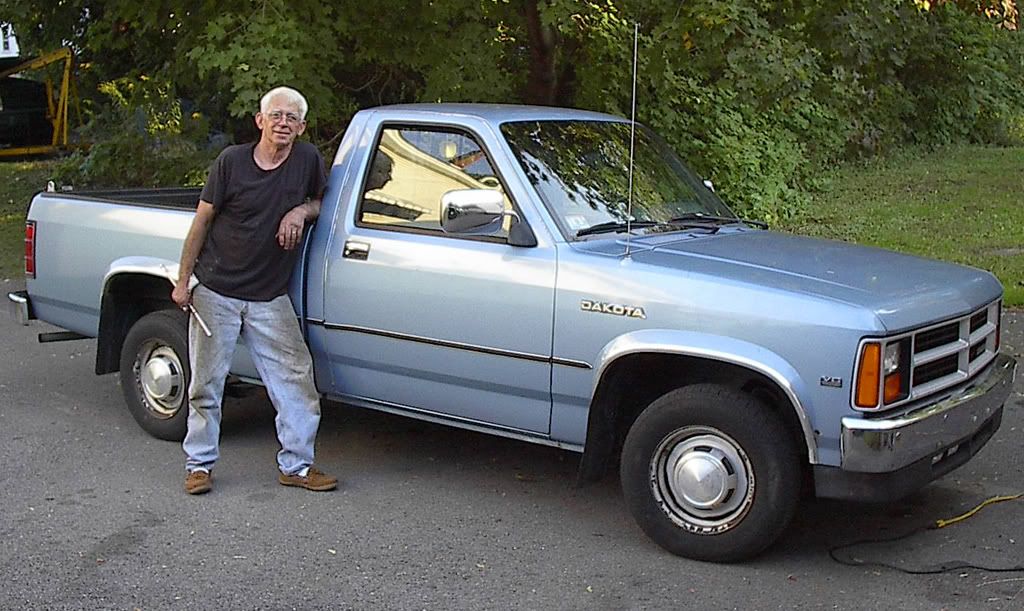


Two years later I just bought it, and this is how it looks. The dented hood remains along with a crooked left light, actually the entire door/shell does not fit in the fender properly. Also the bumper is closer then normal to the left headlight door/shell.

With the front end apart it might be hard to see in the photo but the left frame rail that was welded on is slightly facing upward which I think is why the bumper is closer up on that side.

This is why the left headlight door/shell does not fit correctly, and why the headlight does not shine straight:


I have started working on a custom grill of some sort experimenting with the old grill from the accident, there is a small crack and missing one mounting hole tab. I used a Dremel tool to cut it all out and then smoothed it down, primed the whole thing. I will eventually on the good grill use a fiberglass boat repair kit to fill in the "D" or "C" shaped cutouts where the grill attached.

I'm looking into the possibility of a cowl induction scoop, 38" long, 23" wide and 2-1/2" tall. At 38" it would cover the entire hoods length, and I would have to blend it into the hood somehow, especially along the front [SUM-471500]

I have been slowly swapping out all my interior panels from blue to grey. The 88' column panel had this wedge/wing that tucked behind the rear column panel, but the newer grey panel does not... I should have taken a photo.


