Dakota Durango Forum banner
121 - 140 of 216 Posts
Discussion starter · #121 ·
Doesn't scratch the top of the window or tint? I just put brand new seals on my windows a few months ago. No Gen I's? lol
 
Discussion starter · #122 · (Edited)
I got some more gear in the mail today, KnuKonceptz.com 10G Ultra Flex Kord (OFC) speaker wire along with some pants, 1/0G ring terminals and a negative battery terminal. Now I can 1/0G ground both my frame and body:
Image


I'm not sure HOW..but I dodged an air filter last year on my tune up, and previous to that it was probably only tuned-up once every few years. I bet this air filter has 10,000 miles on it!
Image


Here is the inside!
Image


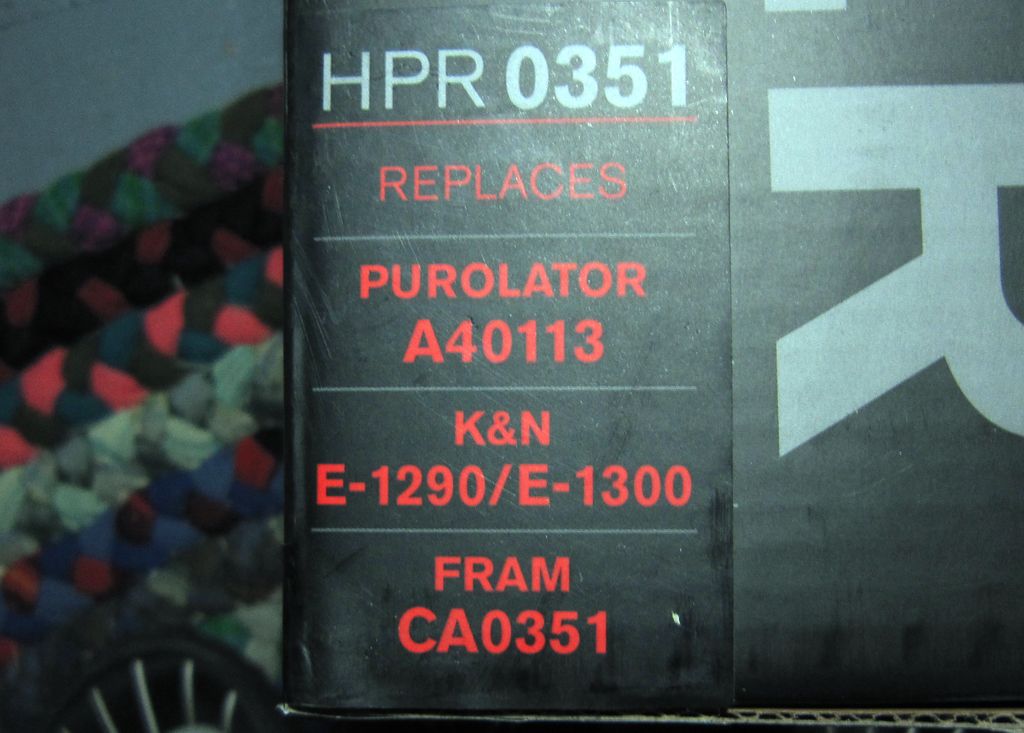
My grandfather said this could improve gas mileage, I hope so. I could replace the stock filter for $15, spend $50 on a K&N or $20 on this Spectre which is the exact same thing as the K&N; it even says so on the side:
Image

Image
 
Discussion starter · #123 ·
The inspection shop made me switch out my headlights to stock (DOT) but I already swapped them back to the black...I think I like the clear I'm going to pickup a set of non-fake projection; diamond cut 4x6 headlights:
Image

Image
 
Discussion starter · #124 ·
Here is an update on my stereo I'm complete the wiring I just need to install my drivers, you can see how large my power cable is but it's more flexible than all the other smaller cables pictured:
Image


The 0G terminals had to be modified to fit directly into my amp ("just because"):
Image


I went with some 16G remote wire, a little bigger then needed but whatever:
Image


Image


No equipment board/rack but I will craft one later down the road, I shouldn't have any ground loop problems with this amp but just in case it's mounted on rubber washer risers (I'm missing my rear window bezel; swapping to grey):
Image


The string of blue cables are the amp output/crossover input, right tweeter and mid driver:
Image


The input/output and remote wire are run under the passenger B-pillar panel:
Image


The amp input (Symbilink), remote wire, right tweeter and mid driver are run down the passenger side:
Image


Drivers side carries the power cable, left tweeter and mid driver:
Image


The 1/0G is a tight fit on the drivers side:
Image
 
Discussion starter · #125 · (Edited)
With snow on the way time is running out for outdoor work; I wont have time to save for all my suspension plans but it's really boaty so I bought four $10 shocks...$50 shipped. These should get me though the spring then I can pull them out for some KYBs, new springs, cushions, upper and lower control arm bushings, rear coil over shocks, and leaf spring pin bushings.


MONROE:
Front- #20734
Rear- #20735

Image


They claim "heavy duty" but little 5'5" 120lb me can compress these shocks by hand....I have installed OEM shocks in cars that are so stiff I can barley move them by hand:
Image


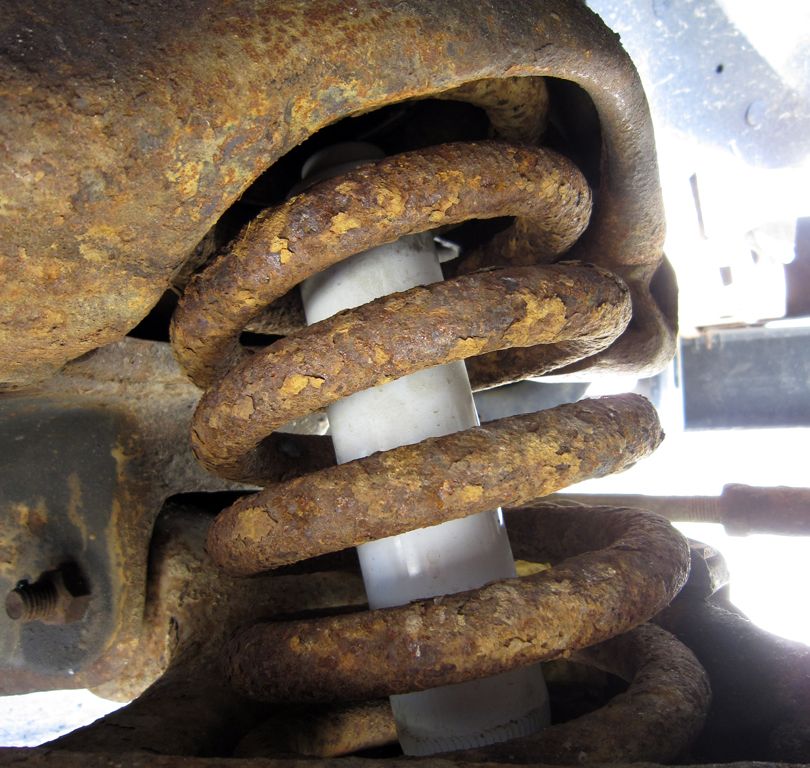
I installed them....egh rust:
Image


I'm thinking about building a rolling chassis and dropping my body on it, that way everything can be rust sealed with POR15 and I will start with a clean chassis:
Image


I bought all new polyurethane body mount bushings...I think 2 of the 6 are the radiator core support...or for an extended cab?
Image
 
Discussion starter · #126 ·
More stereo updates! These are my temporary speaker baffles for the doors with rain shields, they are waterproofed with deck sealer:
Image


I went to the hardware store and got some 10AWG (I think stainless steel) terminals, I was able to just barley get every single strand of the positive in there, fluxed and soldered. The negative is a smaller terminal on the speaker so the wire size opening is smaller, I got the most I could inside and pushed the rest against the outside all the way around, fluxed and soldered everything inside and out so it still gets the same continuity with no bottlenecks:
Image


Heat shrunk the terminals:
Image


Test fit the baffle and speaker:
Image


Grill installed and top wing/tab of baffle has been screwed down, system is up and running but needs tuning:
Image


This system is AMAZING! Instead of the bass being in bass guitars it's in snares, symbols, and drums like a mid-range should be; real punchy you can feel a nice hard kick right in your chest! With a subwoofer and sound deadening the system would be untouchable.
 
Discussion starter · #127 ·
I installed 4 of the 6 bushing sets (not sure where the remaining 2 sets go... radiator core support?) I wire brushed all surfaces and sprayed with silver Rustoleum because the can says it stops rust. Here are the rear cab mounts:
Image

Image


The fronts have a bad rust problem...look at the middle of the passengers mount it's thinner than the sides and cracked:
Image

Image


The front drivers side has a very bad rust problem which I am bummed out about, where the crack was on the passengers side is completely rotted out on the drivers side! Also as you can see there is a gaping hole in the body support...and when I jacked the body up with a 2x4 under the drivers side I heard a little bit of crunching and sure enough it pushed my floor pan in I hope the rust is not too bad under the carpet/rubber:
Image

Image


The polyurethane mounts might have been a mistake...they really do transmit the rough roads and tiny bumps BUT improve corners a little bit, all in all I should have gone with factory rubber which is probably more expensive and harder to find.
 
Discussion starter · #129 ·
looking good, are you going to do any engine mods anytime?
Not soon, I will rack up my miles first then drop the 3.9LA for a 5.9L Magnum. Somewhere down the line before the 5.9 I will swap my 3-speed auto for an NV3500 5-speed
 
Discussion starter · #130 ·
Picked up a tail gate net, I love the race car window net look. I will mount it as flush to the bed edge as possible, then drop that rear bumper...probably drive without one for 6 months lol.

Image
 
If you'll be keeping the net you should get a big Mopar patch sewn on over the "bully" That would look and fit the truck better IMO.
 
Discussion starter · #132 ·
If you'll be keeping the net you should get a big Mopar patch sewn on over the "bully" That would look and fit the truck better IMO.
Great idea!! I live above a professional seamstress!
 
Discussion starter · #133 ·
I installed the net completely flush with the bed line; like a tailgate instead of traditionally mounted on the inner tailgate rest/stopper:
Image

Image


If I don't sew a Mopar patch over the Bully I might put my licence plate there in the center of the net:
Image


Makes it easier to backup in parking spaces:
Image


I really like the look as well, kind of brings the front end together:
Image


The red is where it needs to be boxed in since a roll pan only overs where the bumper currently exist, I need to compensate for the flap on the bottom of the tailgate...possibly weld a piece of bar stock to the top of a roll pan?
Image


Now I need a visor, find a fast-back and locate the rarest of rare; rear window louvers!
 
hey man, when you did the wires for the audio, did you crimp the wires in the lugs (terminals) or did you just use a high continutity solder and solder them into the lugs?
 
Discussion starter · #137 · (Edited)
Wowhaaat thanks!! That's exactly what I'm looking for thanks!


hey man, when you did the wires for the audio, did you crimp the wires in the lugs (terminals) or did you just use a high continutity solder and solder them into the lugs?
I soldered the terminals with silver-bearing.
 
okay cool, where did you find that?
 
oh okay. cool. Ill have to pick some up for my big three
 
121 - 140 of 216 Posts